Choosing the Right Microphone Arm: A Comprehensive Guide
Selecting the best microphone arm for your desk involves understanding key factors like build quality, weight capacity, mounting options, and cable management. Below, we break down everything you need to know to make an informed decision.
Types of Microphone Arms
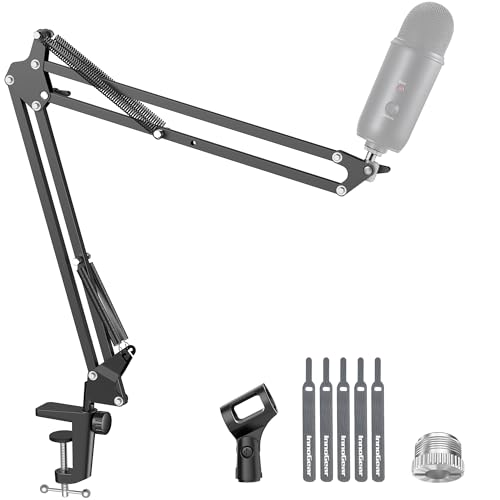
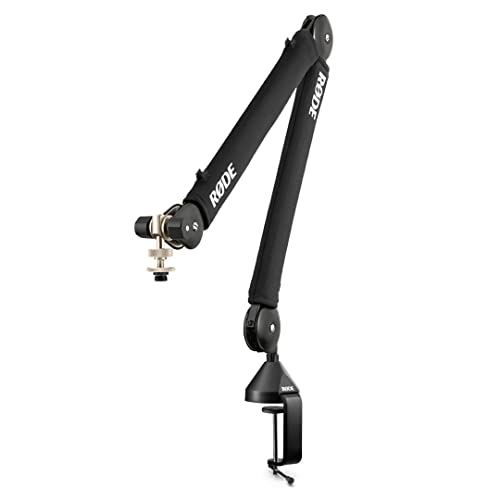
Studio Boom Arms
Heavy-duty arms with internal springs, designed for professional studio microphones. They offer smooth, silent adjustment and excellent stability. Ideal for high-end desk microphones.
- Weight Capacity: 2–5 lbs
- Reach: 30–40 inches
- Mounting: C-clamp or desk insert
Compact & Portable Arms
Ideal for smaller mics, travel, or minimal setups. These arms are easy to install and adjust, perfect for desk setup minimalists.
- Weight Capacity: 0.5–2 lbs
- Reach: 15–25 inches
- Mounting: C-clamp or suction cup
Entry-Level Boom Arms
Great for beginners, these arms offer solid performance without breaking the bank. They often include basic cable management and are compatible with most standard mic mounts.
- Weight Capacity: 1–3 lbs
- Reach: 20–30 inches
- Mounting: C-clamp or desk mount
Low-Profile & Under-Desk
Mount your microphone underneath the desk or behind a monitor for an ultra-clean look. These arms are perfect for distraction-free desk environments.
- Weight Capacity: 1–4 lbs
- Reach: 10–20 inches
- Mounting: Under-desk clamp
Key Features to Consider
- Weight Capacity: Always check the arm's max weight capacity. Overloading can damage the arm and cause sagging.
- Reach & Range: Measure the distance from your desk edge to your desired mic position. Ensure the arm can cover that range.
- Mounting Type: C-clamp mounts are the most versatile. Desk insert mounts require a pre-drilled hole but offer a cleaner look.
- Cable Management: Built-in channels or clips keep cables neat and out of the way, enhancing your desk organization.
- Construction & Materials: All-metal arms are more durable than plastic ones. Look for reinforced joints and high-tension springs.
- Compatibility: Ensure the arm uses a standard 5/8" or 3/8" mounting thread, or comes with adapters for your specific microphone.
How a Microphone Arm Fits Into Your Desk Ecosystem
A microphone arm is just one piece of the puzzle. To create a truly professional and ergonomic workspace, consider pairing it with other essential desk accessories. For instance, a sturdy monitor arm can free up even more desk space, while a headphone stand keeps your audio gear tidy. Proper desk acoustic treatment can also improve your microphone's performance by reducing room echo.
Setting Up Your Microphone Arm
- 1. Choose the Right Location: Mount the arm near your dominant hand side, ensuring it doesn't block your monitor or keyboard tray.
- 2. Secure the Mount: Tighten the C-clamp or desk insert firmly to prevent wobbling.
- 3. Attach Your Microphone: Use the correct adapter and ensure the shock mount is properly fitted.
- 4. Route Cables: Feed the XLR or USB cable through the arm's cable management channels.
- 5. Adjust Tension: Most arms have adjustable tension knobs to control the arm's stiffness.
Maintenance & Care Tips
To ensure your microphone arm lasts for years, periodically check and tighten all screws and joints. Clean the arm with a soft, dry cloth to remove dust. Avoid over-adjusting or forcing the arm beyond its intended range. If the arm becomes stiff, apply a small amount of silicone-based lubricant to the moving parts.